画像を余白を残しながら自動でトリミングしトリミングした後余白を追加するPythonプログラム
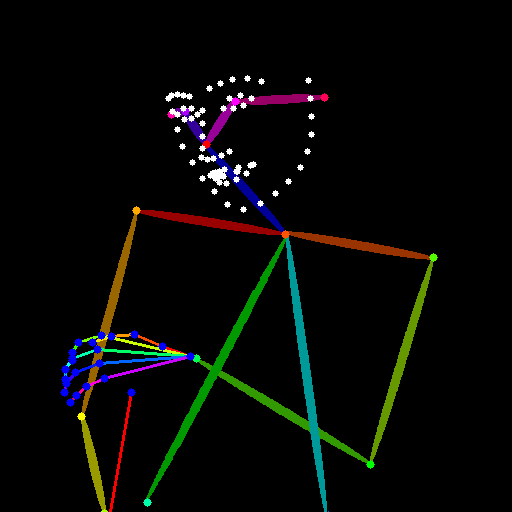
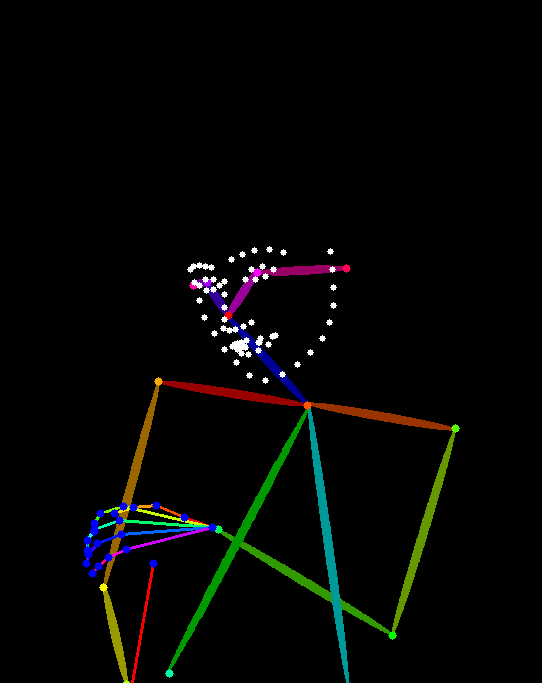
オープンポーズ画像などで頭の部分の上の箇所が画面から見えなくなって作成されることが多々あります。あらかじめオープンポーズの画像に余白を入れることで頭全体が画像の中に入るように調整します。またオープンポーズ画像の余白が大きすぎた場合に人物の描写 例えば目の部分がおかしくなったりするので人物の部分だけを抽出できるようにします
コード
import cv2
import numpy as np
import os

def add_margin(image, top_margin, bottom_margin, left_margin, right_margin):
    # 画像の高さと幅を取得
    height, width = image.shape[:2]

    # 余白の大きさを計算
    new_height = height + top_margin + bottom_margin
    new_width = width + left_margin + right_margin

    # 新しい画像を作成(背景は黒)
#    new_image = np.zeros((new_height, new_width, 3), dtype=np.uint8)
    top_left_color = image[0, 0]

    new_image= np.full((new_height, new_width, 3), top_left_color, dtype = np.uint8)
 #   new_image= np.full((new_height, new_width, 3), (255, 0, 0), dtype = np.uint8)

    # 元の画像を新しい画像の中央に配置
    top_offset = top_margin
    bottom_offset = top_margin + height
    left_offset = left_margin
    right_offset = left_margin + width

    new_image[top_offset:bottom_offset, left_offset:right_offset] = image

    return new_image

def trim_image_with_margins(image,  margin_ratio):
    # 画像の読み込み

    # 余白の色を取得するために画像の左上のサンプルを取得
    top_left_color = image[0, 0]
    bottom_right_color = image[-1, -1]

 #   top_left_color =  [0, 0, 0]
 #   bottom_right_color = [0, 0, 0]
    # 画像の高さと幅を取得
    height, width = image.shape[:2]

    # 左から右に向かって余白を取り除く
    left_trim = 0
    for j in range(width):
        for i in range(height):
            if not np.array_equal(image[i, j], top_left_color):
                left_trim = j
                break
        else:
            continue
        break

    # 上から下に向かって余白を取り除く
    top_trim = 0
    for i in range(height):
        for j in range(width):
            if not np.array_equal(image[i, j], top_left_color):
                top_trim = i
                break
        else:
            continue
        break

    # 右から左に向かって余白を取り除く
    right_trim = 0
    for j in range(width - 1, -1, -1):
        for i in range(height):
            if not np.array_equal(image[i, j], bottom_right_color):
                right_trim = width - j - 1
                break
        else:
            continue
        break

    # 下から上に向かって余白を取り除く
    bottom_trim = 0
    for i in range(height - 1, -1, -1):
        for j in range(width):
            if not np.array_equal(image[i, j], bottom_right_color):
                bottom_trim = height - i - 1
                break
        else:
            continue
        break

    # 上下左右に指定された割合の余白を残してトリミング
    top_margin = int(margin_ratio * (height - top_trim - bottom_trim))
    bottom_margin = int(margin_ratio * (height - top_trim - bottom_trim))
    left_margin = int(margin_ratio * (width - left_trim - right_trim))
    right_margin = int(margin_ratio * (width - left_trim - right_trim))

    # 余白を含むトリミングを生成
    cropped_image = image[max(0, top_trim - top_margin):min(height, height - bottom_trim + bottom_margin),
                          max(0, left_trim - left_margin):min(width, width - right_trim + right_margin)]
    return cropped_image
    # 余白を含むトリミングされた画像を保存

    # 余白を含むトリミングされた画像を表示
"""
    cv2.imshow('Cropped Image with Margins', cropped_image)
    cv2.waitKey(0)
    cv2.destroyAllWindows()
"""

# 使用例:trim_image_with_margins('a.png', 'output_with_margins.png', margin_ratio=0.10)

def batch_process_images(input_folder, output_folder, margin_ratio):
    # 出力フォルダが存在しない場合は作成
    if not os.path.exists(output_folder):
        os.makedirs(output_folder)

    # 入力フォルダ内の画像ファイルを一括で処理
    for filename in os.listdir(input_folder):
        if filename.endswith(('.jpg', '.jpeg', '.png', '.bmp', '.gif')):
            input_path = os.path.join(input_folder, filename)
            output_path = os.path.join(output_folder, filename)
            image = cv2.imread(input_path)

            output_image=trim_image_with_margins(image,  margin_ratio)
            height, width = output_image.shape[:2]
            top_margin = int(0.2 * (height ))
            bottom_margin = 0
            left_margin =int(0.1 * (width))
            right_margin = int(0.1 * (width))
            if width>height:
                width=height
            else:
                height=width


 #
            top_margin = int(0.25 * (height ))
 #           top_margin = int(0.45 * (height ))
            bottom_margin = 0
            left_margin =int(0.1 * (width))
            right_margin = int(0.1 * (width))

            output_image = add_margin(output_image, top_margin, bottom_margin, left_margin, right_margin)
            cv2.imwrite(output_path, output_image)

# 使用例:
input_folder = 'input_folder'
output_folder = 'output_folder'
output_f = 'output_folder'
output_folder = os.path.join(input_folder, output_f)
margin_ratio = 0.10  # 余白の割合を調整
batch_process_images(input_folder, output_folder, margin_ratio)
XnConvert
多少の色の違いでも自動トリミングができるのでこちらのツールは便利です。また色の置き換えができるのでこちらの機能も便利です。
XnConvert · Batch Image Converter | Image convert | XnView.com