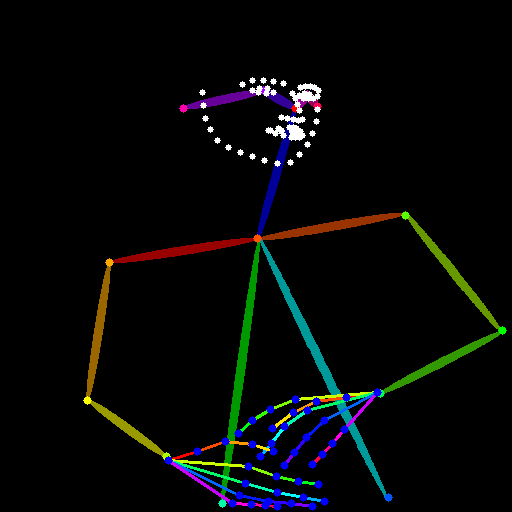
バッチ処理で複数のOpenPose、DWposeを作成する
今回はダウンロードしたモデルデータを使用できるように対応しました
コード
# -*- coding: utf-8 -*-
import requests
from PIL import Image
from io import BytesIO
import os

#
from controlnet_aux import DWposeDetector,OpenposeDetector


pretrained_model_or_path = "model"
body_filename =  "body_pose_model.pth"
hand_filename =  "hand_pose_model.pth"
face_filename =  "facenet.pth"


open_pose = OpenposeDetector.from_pretrained( pretrained_model_or_path,
                                             filename=body_filename,
                                             hand_filename=hand_filename,
                                             face_filename=face_filename,
                                             cache_dir=None)
# specify configs, ckpts and device, or it will be downloaded automatically and use cpu by default
# det_config: ./src/controlnet_aux/dwpose/yolox_config/yolox_l_8xb8-300e_coco.py
# det_ckpt: https://download.openmmlab.com/mmdetection/v2.0/yolox/yolox_l_8x8_300e_coco/yolox_l_8x8_300e_coco_20211126_140236-d3bd2b23.pth
# pose_config: ./src/controlnet_aux/dwpose/dwpose_config/dwpose-l_384x288.py
# pose_ckpt: https://huggingface.co/wanghaofan/dw-ll_ucoco_384/resolve/main/dw-ll_ucoco_384.pth
det_config = 'dwpose_config/yolox_config/yolox_l_8xb8-300e_coco.py'
det_ckpt = 'model/yolox_l_8x8_300e_coco_20211126_140236-d3bd2b23.pth'
det_config = 'dwpose_config/dwpose_config/dwpose-l_384x288.py'
pose_ckpt = 'model/dw-ll_ucoco_384.pth'
import torch
device = torch.device('cuda' if torch.cuda.is_available() else 'cpu')
#dwpose = DWposeDetector( device=device)
#dwpose = DWposeDetector(det_config=det_config, det_ckpt=det_ckpt, pose_config=pose_config, pose_ckpt=pose_ckpt, device=device)
#
dwpose = DWposeDetector( det_ckpt=det_ckpt,  pose_ckpt=pose_ckpt, device=device)

input_folder = 'input_folder/'
output_folder = 'output_folder/'

# 出力フォルダーが存在しない場合は作成します
if not os.path.exists(output_folder):
    os.makedirs(output_folder)
# 画像フォルダー内のファイルをループで処理します
for filename in os.listdir(input_folder):
    if filename.endswith('.jpg') or filename.endswith('.jpeg') or filename.endswith('.png'):
        img = Image.open(os.path.join(input_folder, filename))

#        processed_image = dwpose(img, to_pil=True)
        processed_image = open_pose(img, to_pil=True,include_hand=True, include_face=True)
        output_path = os.path.join(output_folder, filename)
        processed_image.save(output_path)
あらかじめダウンロードしたモデルファイルを用意して自分の環境に設置してください。
OpenPose、DWposeを用意しているので必要な方を選んで使用してください
モデルデータを自動でダウンロードするコード
# -*- coding: utf-8 -*-
import requests
from PIL import Image
from io import BytesIO
import os

#
from controlnet_aux import DWposeDetector,OpenposeDetector

processor_id = 'openpose_face'
processor_id = 'openpose_faceonly'
processor_id = 'openpose_full'
processor_id = 'openpose_hand'
processor_id = 'openpose'
processor = Processor(processor_id)

import torch
device = torch.device('cuda' if torch.cuda.is_available() else 'cpu')
#dwpose = DWposeDetector( device=device)

input_folder = 'input_folder/'
output_folder = 'output_folder/'

# 出力フォルダーが存在しない場合は作成します
if not os.path.exists(output_folder):
    os.makedirs(output_folder)
# 画像フォルダー内のファイルをループで処理します
for filename in os.listdir(input_folder):
    if filename.endswith('.jpg') or filename.endswith('.jpeg') or filename.endswith('.png'):
        img = Image.open(os.path.join(input_folder, filename))
        processed_image = processor(img, to_pil=True)

#        processed_image = dwpose(img, to_pil=True)
#        processed_image = processor(img, to_pil=True,include_hand=True, include_face=True)
        output_path = os.path.join(output_folder, filename)
        processed_image.save(output_path)


ディスカッション
コメント一覧
まだ、コメントがありません